
Insertion Head Jaw Guide Gap Adjustment: Stop Head Wander on THT Auto Insertion Machines
An incorrect jaw guide gap makes the insertion head wander and bends leads. Here is the step-by-step adjustment procedure for THT auto-insertion machines.
Sep 25, 2026 · Updated Sep 25, 2026 · Southern Machinery
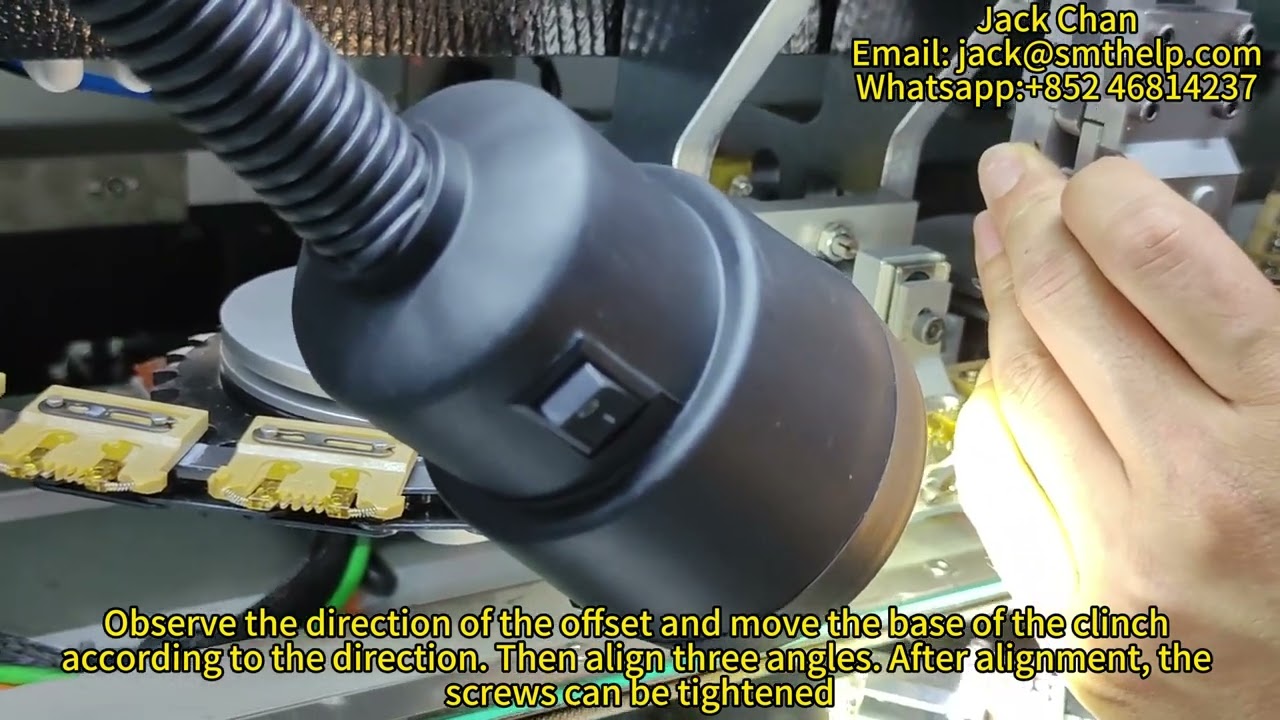
Every through-hole (THT) auto-insertion line eventually reports the same family of faults: leads that land off-centre, components that sit crooked in the hole, intermittent "component not inserted" alarms, and bent or splayed leads arriving at the clinch station. Operators often blame the feeder, the sequencer or the program. In a large share of cases the real cause is mechanical and sits two inches above the board — the gap between the block containing the jaw guide and the insertion head housing.
This article walks through the jaw guide gap adjustment procedure used on UIC/Universal-style THT insertion heads, published by Southern Machinery as part of its SMT/THT machine operation manual library on smthelp.com.
What is the insertion head jaw guide gap?
The jaw guide assembly is the part of the insertion head that grips and steers the component leads down into the PCB holes. It sits inside a block, and that block is mounted inside the head housing. A small, controlled clearance between the two lets the guide travel up and down freely while staying rigid in every other direction.
When the gap is correctly set:
- the jaw guide moves freely, but is not excessively loose;
- components load into the head consistently, insertion after insertion;
- the head does not wander during component insertion.
The acceptance criterion is simple and physical: with the head housing held, there should be no movement in either a front-to-back or a side-to-side direction between the block and the housing. If you can feel play, the gap is wrong — and it will show up on the board as misinsertion.
What is this adjustment used for?
This adjustment is used to restore insertion accuracy on a radial, axial or odd-form auto-insertion head whose jaw guide has developed play, or has been over-tightened until its rollers bind. Specifically it is the corrective procedure for:
- Front-to-back play — the guide rocks fore and aft, so leads enter the hole at a slight angle and clinch geometry drifts.
- Side-to-side play — the guide shifts laterally, so lead pitch varies across the insertion stroke.
- Binding rollers — rollers D and E stop rotating cleanly, the guide sticks through part of its travel, and insertion force spikes.
It is a setup adjustment, not a repair. In most cases no parts are replaced at all — two set points are re-datumed and the head goes back into production. That is why it is worth doing before ordering a replacement head assembly.
Symptoms that point to an incorrect jaw guide gap
- Components intermittently fail to insert, or insert at an angle.
- Leads arrive at the clinch station bent or unevenly splayed.
- Insertion errors cluster on one head on a multi-head machine.
- The head "walks" in the tooling after a few thousand insertions, then holds again after re-teaching.
- Rollers in the head no longer rotate smoothly through the up/down stroke.
Prerequisites and safety
Two conditions are non-negotiable before the procedure starts:
- Machine powered down. The procedure is documented with the machine stopped.
- Insertion head removed from the machine. The jaw guide gap is set on the bench, with the head assembly off the head drive shaft.
On the wider insertion-head maintenance family, Southern Machinery's published procedures also require Lockout/Tagout according to your local procedures before opening the inserter front cover or loosening any casting bolts. Follow your plant's LOTO policy — it is a personal-safety requirement, not a formality.
Have a clean, well-lit bench, the head assembly drawings from your Maintenance Support Document (for part ordering and identification), and a small set of hex keys and screwdrivers. Component identification in the procedure below uses the designators from the official illustrations.
Step-by-step: jaw guide gap adjustment
Step 1 — Check for front-to-back play
Hold the head housing and apply front-to-back pressure to the jaw guide assembly. Check for movement between the block and the housing. This play can appear in a front-to-back direction or in a side-to-side direction.
Step 2 — Check the full range of travel
Still holding the housing, move the jaw guide assembly through its full range of travel to the full up and full down positions. The assembly must move up and down smoothly, and rollers D and E must rotate without binding.
Step 3 — Decide whether to continue
- No adjustment required? Go to the Insertion Head Centering Adjustment procedure instead.
- Excess movement, binding, or rollers that do not rotate? Continue with the steps below.
Step 4 — Correct side-to-side movement or binding
To eliminate excessive side-to-side movement or binding of roller E:
- Loosen set screw F.
- Turn eccentric shaft G in either direction until roller E moves freely.
- Turn eccentric shaft G clockwise until a slight resistance is felt. Do not adjust beyond this point.
- Check for smooth movement between the up/down positions without excessive side-to-side movement. Readjust eccentric shaft G as necessary.
- When satisfied, tighten set screw F.
Step 5 — Correct front-to-back movement or binding
To eliminate excessive front-to-back movement or binding of roller D:
- Loosen, then finger-tighten screws K.
- Adjust screw J, taking care not to over-tighten it, while checking for smooth movement between the up and down positions and no front-to-back movement.
- Readjust screw J as necessary.
- When satisfied, tighten screws K.
Step 6 — Recheck
Recheck for smooth up/down operation of the guide jaw assembly, and for excessive front-to-back and side-to-side movement. If there is no excess movement or binding and both rollers turn smoothly, no further adjustment is necessary. If movement or binding still exists, repeat the procedures above as necessary.
Step 7 — Re-centre before reinstalling
Before reinstalling the insertion head on the machine, check the insertion head centering and complete the centering adjustment. Do not bolt a freshly adjusted head back onto the drive shaft and assume it is aligned — the centering step is what transfers bench accuracy into board accuracy.
Where this fits in the insertion head setup sequence
The jaw guide gap is one of four interlocking adjustments on a THT insertion head. Doing them out of order wastes downtime, because each one moves the datum the next one depends on.
| Adjustment | What it sets | Prerequisite |
| --- | --- | --- |
| Insertion head casting height | Distance from the bottom of the plate under the CTA to the top of the rotary table | Plate squared to the upper frame |
| Jaw guide gap | Clearance between the jaw guide block and the head housing | Machine powered down, head removed |
| Insertion head centering | Head axis relative to the board/tooling | Follows the jaw guide gap adjustment |
| CTA-to-head alignment | Alignment of the CTA component transfer to the insertion head tooling | Head up adjustment, head centering, sequencer chain at zero position |
Two verified details from the sibling procedures are worth knowing, because they explain faults that look unrelated:
- Casting height is a collision risk, not just an accuracy setting. If the distance from the plate under the CTA to the rotary table is wrong, the CTA can interfere with the components already on the workboard. That is why the procedure uses a gauge block (the published value is 34.37 mm / 1.353 in.) placed next to the rear rotary table support bearing as the reference point, adjusted until the block slides under and back out from beneath the CTA transfer plate with only a slight amount of friction — then the four head casting bolts are retightened, the setting rechecked, and torque seal applied over the set screw threads. The plate settings themselves are set at the factory and should not be changed.
- CTA alignment uses the machine's own diagnostics. On the published procedure the technician uses IM Diagnostics → Quickstart option 2, "Set Up Critical Axis Positions", zeros the Head Theta, Head Vertical and Head Insert axes, moves Head Vertical to Full Up, installs the setup tool in the insert tooling guide jaw, holds the latch open to avoid contacting the leads, and extends the CTA component transfer to the head. The check is visual and unambiguous: the leads on the setup tool should be seated in the bottom of the "V" slots of the bottom guide. If they are, no further adjustment is needed.
For head removal and rebuild, the documented sequence is: power down and LOTO, open the inserter front cover, manually rotate the head assembly 90° clockwise, loosen the hex jam nut and set screw, loosen the socket set screw and remove the tooling pin, open the shaft clamp, slide the head assembly toward the back of the machine until the pusher disengages from the shaft, then lift the assembly out. Reassembly specs call for anderol lubrication on the pusher, the slide actuator cam surfaces, and the jaw guide slot and grooves, and Loctite 242 on cleaned cap screw threads.
Typical application scenarios
Jaw guide gap adjustment matters wherever THT insertion accuracy is measured in defects per million rather than "good enough":
- EMS / contract manufacturing — mixed-technology boards where an intermittent insertion fault on one head corrupts first-pass yield across a whole product family.
- Automotive electronics — connectors, relays, fuse holders and power components inserted at high density, where a wandering head risks a latent lead defect rather than a visible one.
- Home appliance control boards — air conditioner, washing machine, microwave and induction cooker PCBs running high volumes of radial components, where drift shows up as escalating rework on the DIP line.
- Power supply and ballast assembly — vehicle power supplies, energy-saving supplies and lighting ballasts with tall radial components that amplify any angular error in the insertion stroke.
- LED lighting and display boards — radial and odd-form LED components where a tilted lead changes the optical position of the finished lamp.
- Industrial control and instrumentation — low-volume, high-mix work where setup time dominates and a repeatable head setup is the difference between a profitable changeover and an unprofitable one.
How this fits into a complete SMT/THT PCB assembly line
Southern Machinery supplies SMT/THT PCB assembly automation equipment as a full line: SMT placement, stencil printing, reflow, wave and selective soldering, THT auto insertion (radial, axial, odd-form and terminal), board handling, cleaning and coating, and inspection and rework.
A jaw guide gap fault is a THT insertion station problem, but its cost is paid across the whole line. Insertion errors do not stop at the inserter — they present downstream as clinch defects, wave-soldering bridges and voids, AOI rejections and, in the worst case, field returns. Keeping the insertion head mechanically in tolerance is the cheapest way to protect the yield of every station behind it.
For plants running legacy THT equipment, Southern Machinery also supports the surrounding ecosystem: spare parts, sub-assemblies, retrofit kits, repair kits, upgrading, training and overhaul, plus component-level repair services for legacy SMT equipment such as Cyber Optics laser units used on Yamaha YVL88/YV88II placement machines. The company was founded in 2011 in Shenzhen, China, and serves 237+ customers worldwide.
Key parameters to confirm before you start
Do not order parts or schedule downtime before confirming the following. These are the questions that determine which procedure, which tooling and which spare parts apply to your machine:
- Head type and platform — radial, axial, odd-form or terminal insertion head; UIC/Universal-style platform versus a different OEM family.
- Head part number / assembly revision — the jaw guide, jaw clamps, pusher tip and block are revision-specific.
- Component lead diameter and span — determines the jaw clamp and pusher tip combination, and the tip is selected from the machine's pusher tip selection chart.
- Roller condition — whether rollers D and E rotate cleanly; a scored or seized roller is a part replacement, not an adjustment.
- Gauge block availability — the casting height procedure depends on the correct gauge block for your platform.
- Conveyor and board support — insertion height is only meaningful relative to a squared, correctly supported workboard.
- Spare part numbers in stock — set screws, cap screws, compression springs, dowel pins and jaw clamps are all consumable over a head's life.
Southern Machinery can confirm the correct configuration for your specific insertion head rather than having you guess from a drawing.
ROI, quality and throughput
An incorrect jaw guide gap is expensive in a way that is easy to miss on a cost report, because it does not stop the line:
- Rework and scrap — bent and misinserted leads are found late, often after clinching or wave soldering, when repair cost per board is highest.
- False downtime — heads get swapped or whole assemblies ordered when a set screw and an eccentric shaft would have solved it.
- Yield drift — one drifting head silently caps first-pass yield for an entire product family.
- Engineering time — every false "the feeder did it" investigation consumes technician hours.
The adjustment itself costs bench time and no parts. That is the ROI case: restore a datum, re-centre, reinstall, and recover the insertion accuracy the head was specified for.
Frequently asked questions
What causes an insertion head to wander during component insertion?
Play between the jaw guide block and the insertion head housing. When the gap is too large the guide is not held rigidly, so it shifts front-to-back or side-to-side during the insertion stroke. The jaw guide gap adjustment is the corrective procedure.
How do I know the jaw guide gap needs adjusting?
Hold the head housing and apply front-to-back pressure to the jaw guide assembly. If you feel movement between the block and the housing — front-to-back or side-to-side — the gap needs adjustment. Also check that the guide moves smoothly through its full up and down travel and that rollers D and E rotate without binding.
What is the difference between the jaw guide gap adjustment and the casting height adjustment?
The jaw guide gap controls clearance inside the head — between the jaw guide block and the housing — and affects insertion accuracy and head wander. The casting height adjustment sets the distance from the plate under the CTA to the top of the rotary table, and an incorrect setting risks interference between the CTA and components already on the workboard.
Do I need to re-centre the head after adjusting the jaw guide gap?
Yes. The published procedure requires checking the insertion head centering — and completing the centering adjustment — before reinstalling the head on the machine.
Can I adjust the jaw guide gap with the head still on the machine?
No. The procedure's stated prerequisite is that the machine is powered down and the insertion head is removed. Work on the bench.
What happens if I over-tighten the adjustment?
You introduce binding instead of play. Eccentric shaft G is turned clockwise only until a slight resistance is felt and must not be adjusted beyond that point, and screw J must not be over-tightened. Over-tightening produces the same symptom as a loose gap — inconsistent insertion — which is why the recheck step exists.
Get the right procedure and the right parts for your insertion head
If your THT insertion line is showing misinsertion, bent leads or head wander, Southern Machinery can help you identify whether the fix is a jaw guide gap adjustment, a centering step, a casting height correction, or a genuine part replacement — and supply the spare parts, sub-assemblies and training to support it.
- Configuration advice and procedure guidance: contact Jason Wu at [jasonwu@smthelp.com](mailto:jasonwu@smthelp.com) or +86 13602562576.
- Equipment catalogues and technical documents: browse file.autoinsertion.com.
- Machine photos and spare part images: search ph.smthelp.com.
- Products, manuals and company information: visit smthelp.com.
Southern Machinery Sales and Service Co., Ltd — SMT and THT PCB assembly automation equipment, Shenzhen, China. Founded 2011, serving 237+ customers worldwide with equipment, spare parts, retrofit, training and global support.
Comments